 LIMITED SPOTS
All plans are 30% OFF for the first month! with the code WELCOME303
LIMITED SPOTS
All plans are 30% OFF for the first month! with the code WELCOME303

LIMITED SPOTS
All plans are 30% OFF for the first month! with the code WELCOME303

If you're looking for an easy way to manage contacts and deals on mobile devices, then you might want to consider using one of these popular tools to do it all -- but what happens when they don't play nice together? You can fix that by integrating them through Zapier. Let's take a look at some common questions about this process so you know exactly why you need to add DocuSign to your list of favorite online services.
Let’s get started!
Zapier supports dozens (if not hundreds) of different applications across various industries. When choosing which ones to connect, Zapier will automatically pull data from those systems into its platform. It also works the other direction as well, meaning that if there is information already stored within Zapier, you'll be able to access it easily without having to manually input any additional details.
Here are just a few examples of the types of connections available between Zapier and many of today's most popular platforms:
Google Sheets & Gmail
Salesforce & Email Marketing Automation System
Hubspot & Sales Cloud
Gmail & Google Calendar
Slack & Slack API
As you can see, Zapier has solutions for virtually every industry imaginable. In order to find out more about connecting two particular platforms, you can either visit their own dedicated pages or head over to Zapier directly where you may find even more options or third-party integrations.
The following diagram shows a simple example of how Zapier connects two different software programs:
While Zapier provides a lot of benefits for users who choose to utilize it, it also comes with a handful of drawbacks. One major disadvantage is that once connected, each application becomes slightly limited in terms of features and functionality. The goal behind this design philosophy is to provide maximum flexibility while minimizing complexity for end-users.
For instance, if you were interested in adding email marketing capabilities to your sales team, you would have no option but to purchase MailChimp separately after making the connection since Zapier doesn't offer any sort of integrated solution. On the flip side, if you wanted to sync up your calendar events across multiple accounts, you'd have to download numerous individual files instead of receiving everything via a single ZIP file like with other similar services.
Another drawback worth mentioning is that Zapier charges monthly fees ranging anywhere from $9-$99 depending upon which products or services you wish to subscribe to. If you only plan to use Zapier occasionally rather than regularly throughout the year, this could prove quite expensive. Lastly, with a free version of Zapier provided to new customers, it's possible to make unlimited "free" connections during your first 90 days of service. After that time period expires, however, you must pay the aforementioned subscription fee per month unless you elect to upgrade to the premium account.


One of the biggest challenges facing businesses today is managing both internal communications and customer relationships -- especially since we now live in such a digital age. To help companies better handle this challenge, several solutions have been developed specifically to streamline processes related to contacting clients and prospects. These include things like creating customized cards, tracking responses, setting follow-up reminders, etc.
In addition to providing these useful functions, these kinds of services often happen to come equipped with built-in messaging tools designed to facilitate collaboration inside large teams. But what happens when you want to combine these functionalities with another type of tool? For example, let's say you need to quickly respond to incoming emails from prospective buyers asking whether or not they should buy something from your business. Or maybe you want to set up automated messages that go out whenever someone replies to an email sent to a specific person.
To solve problems like these, you can turn to the cloud-based app called HelloSign. This program allows anyone to customize templates containing personalized greetings/messages, attach images, sign documents electronically, schedule auto responders, track responses, etc. While this sounds pretty cool in theory, what makes HelloSign really stand apart from other comparable offerings is its ability to connect with third-parties including HubSpot, Zoho CRM, Constant Contact, AWeber, Mail Chimp, etc.
This means that if you decide to start incorporating HelloSign into your workflow, you won't have to worry about losing valuable client info because it integrates seamlessly with HubSpot. Once installed, you can simply log onto the app and select your preferred template. Then, based on instructions contained within the template itself, you can compose custom message(s). Finally, you can save the resulting document(s) straight to HubSpot. From there, you can continue working on projects right away without ever needing to open the app again.
You betcha! And thanks to a partnership between these two tech giants, you can enjoy seamless integration that lets you view existing contracts/deals on the same screen as current leads/prospects. Plus, you can also share important documents like proposals, invoices, receipts, etc., using DocuSign Connections. Here's how it works:
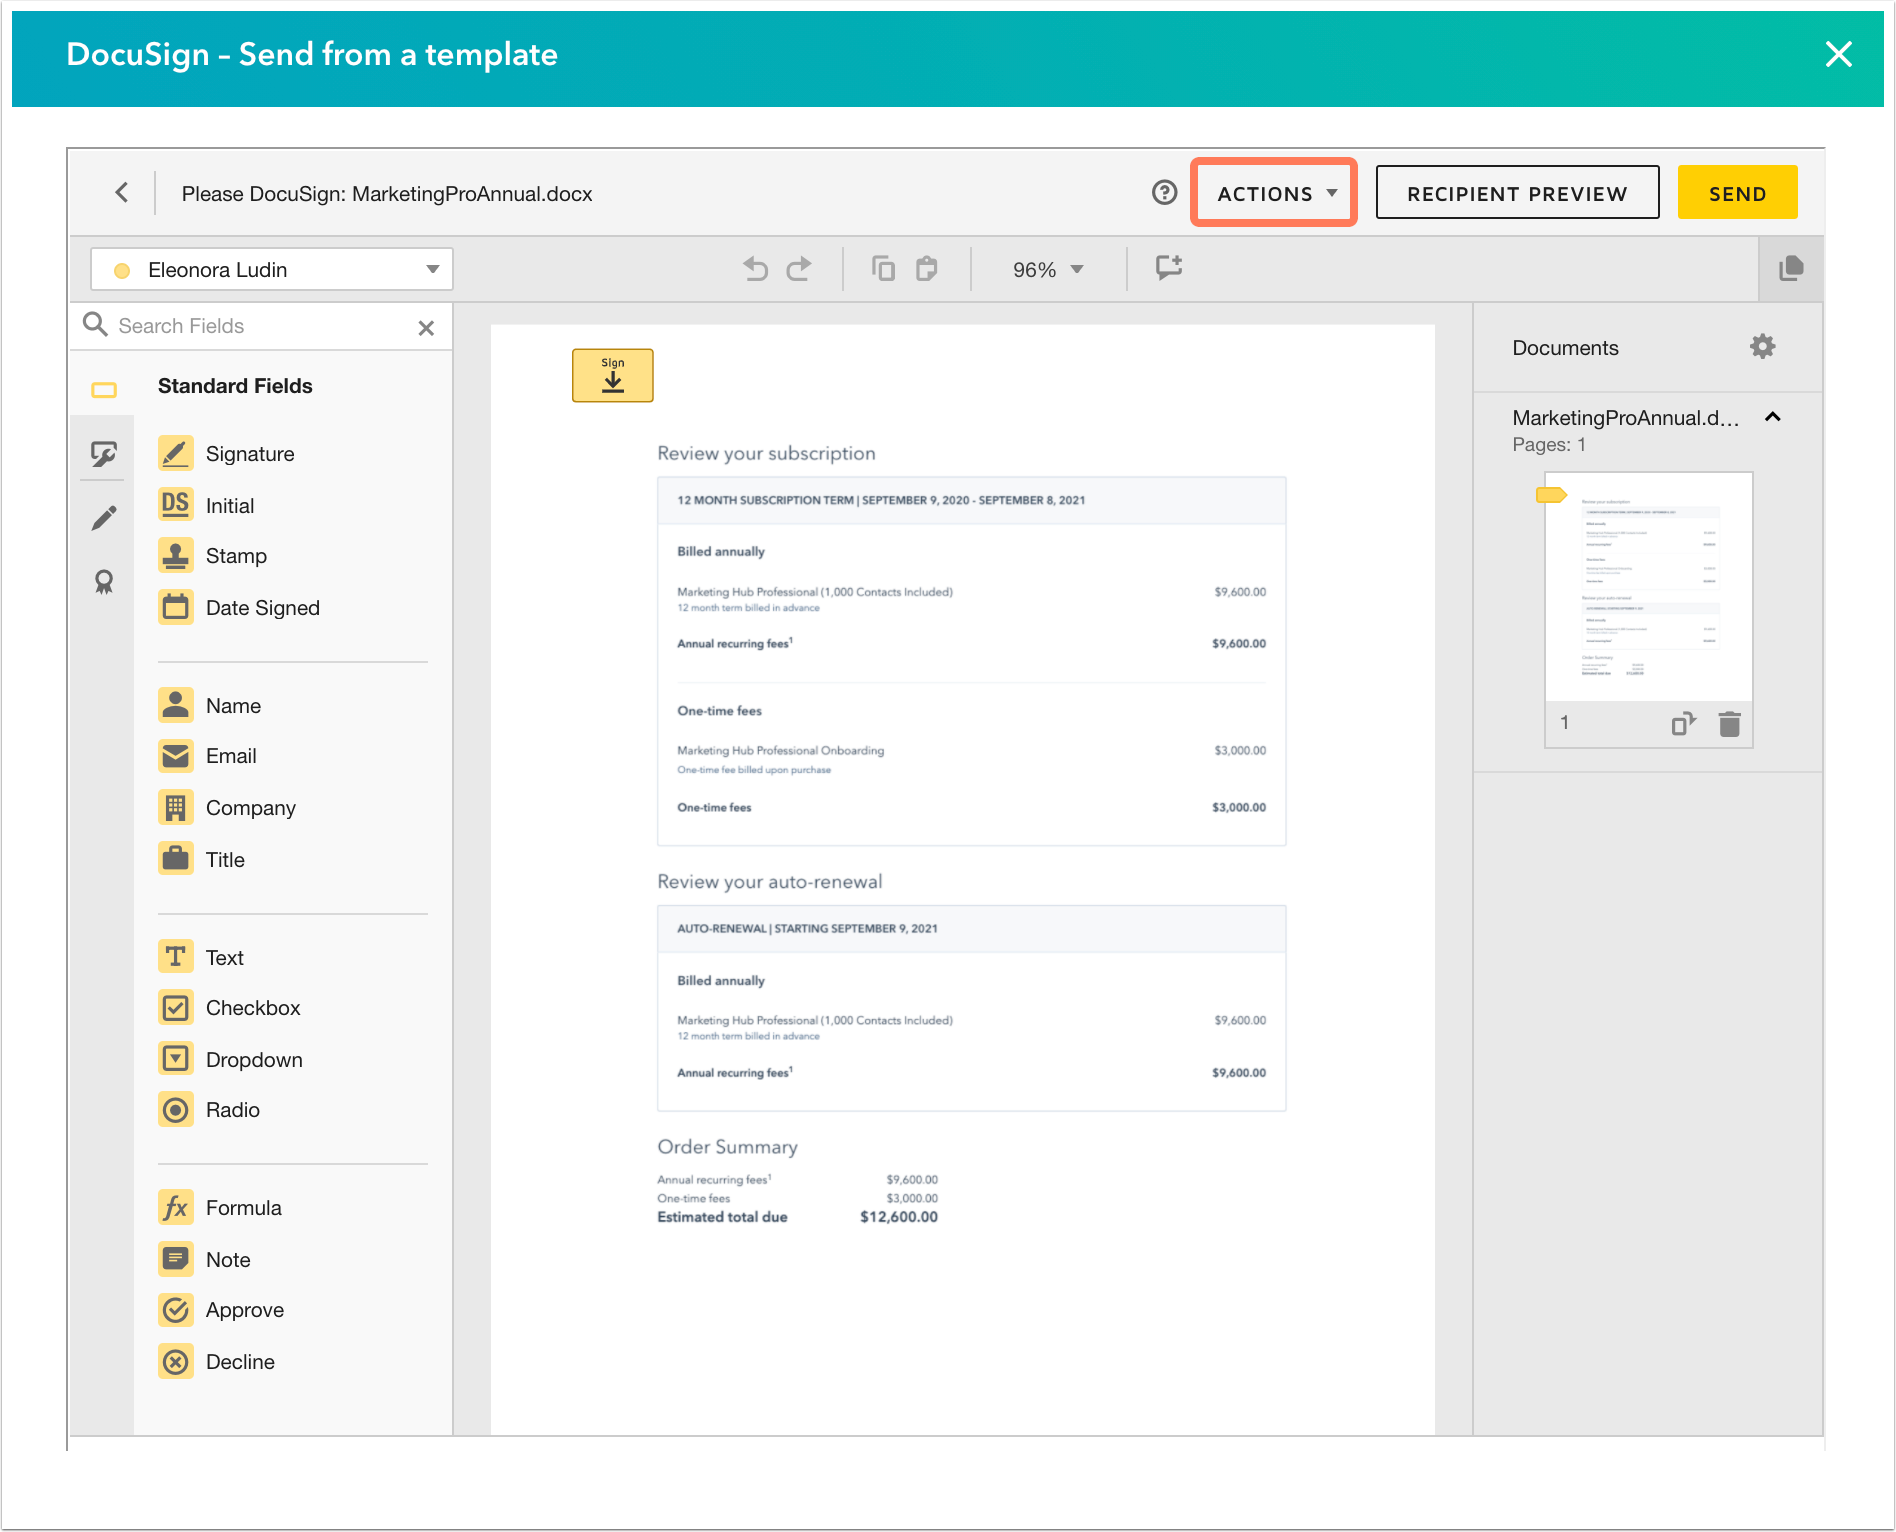
After installing the DocuSign app on your phone, tablet or computer, users can request access to certain docs by typing keywords into the search bar located near the upper left corner of the home page.
Next, tap the magnifying glass icon to begin searching for relevant documents.
Once found, documents can be viewed individually or grouped together under folders.
To mark items as favorites, simply click the star button next to each item.
Lastly, to preview selected documents before sending them off, long press the document thumbnail and select Preview Document.
When ready, hit Send.
That said, it's entirely possible that you may still encounter errors while trying to run this process. Some potential causes include outdated versions of HubSpot or DocuSign, incorrect permissions settings, missing SSL certificates, bad network configurations, etc. Should you experience issues, here are some troubleshooting tips you can try:
Clear cache and cookies
Restart device
Change browser
Disable VPN
Check firewall rules
Try toggling proxies
Logout of web browsers
Close Outlook Web Access
Deactivate antivirus
Update operating system
Disconnect Bluetooth
Review IP address restrictions
Delete temporary internet files
Ensure Java plug-ins are updated
Switch to HTTPS
Troubleshoot Wi-Fi networks
Use wired LAN
Make sure the recipient uses DocuSign
Test outgoing mail locally
Run diagnostics checks
Wait overnight
Install latest updates
Enable TLS encryption
Verify certificate chain
Reset sender ID
Remove proxy servers
Send test mails
Set MX Records
Recheck DNS entries
Uninstall extensions
Go back to previous URL
Contact Technical Support
From my personal experience, I've had zero trouble running this operation. However, if you're encountering technical difficulties along the way, please feel free to reach out to me directly. My name is Michael Smith and I'm happy to assist wherever needed.
So, what kind of awesome stuff did you learn in this article? Do you currently use any of the above mentioned services? What are some interesting ideas you came up with regarding combining different sets of software? Please tell us your thoughts below. We love hearing feedback from our readership!
Do you need to sign documents electronically but don't want to pay monthly fees for services like Box, Dropbox Paper, etc.? Then maybe it's time to check out DocuSign!
DocuSign provides electronic signature solutions that are easy-to-use, affordable, secure, and convenient—whether you're signing contracts on paper, online or by phone. You can also use DocuSign when you’re working remotely via email, web browser, mobile app, desktop software, tablets, or smartwatches.
You may already have heard of DocuSign thanks to their marketing efforts which include TV commercials featuring celebrities such as Ashton Kutcher, Kevin Hart, Jamie Foxx, and more. They even created a short film called "The Right Way" about how people use DocuSign.
In this article we'll explain how to set up a HubSpot connection to DocuSign so that you can easily manage contacts, deals, leads, opportunities, accounts receivable and customers while using DocuSign. This will save you money every month while helping you stay organized.
Before setting up a connection between HubSpot and DocuSign, there needs to be some sort of authentication process (a security code) that determines who has access to what data. In order to get started connecting your HubSpot CRM system to DocuSign, you must first register for a free trial of DocuSign Connect at docsign.com/hubspot [No Longer Available].
Once logged into your DocuSign account, go to My Account > Integrations & Addons. From here, click +Add Integration...
From the list of available integrations, select HubSpot Sales Cloud. If you're not sure where to find this option, look under Other Business Applications. Once selected, you'll see two options appear—one labeled API Access Code and one titled Secret Password. Click Get Your Keys Here.
This page shows all three types of keys needed for this particular integration. The secret password allows users without developer privileges to still make changes to integrations if they accidentally delete them.
There are four different ways to obtain these codes:
1. Go through the steps above again, selecting DocuSign Email Marketing Tool instead of HubSpot Sales Cloud.
2. Contact support@docsign.com to request your keys. Be prepared to provide login credentials for both HubSpot and DocuSign.
3. Visit docusign.net/connect/getkeys and enter your customer ID number.
4. Download the.CSV file containing your user information from your HubSpot account. Use Excel to open the document then choose File | Open. Navigate to C:/Users/[Username]/Desktop/[FileName.csv] to import the CSV file contents.
Each line represents one person within your organization. Make note of each individual's CustomerID. This value should match the name you assign to contacts within HubSpot. For example, Bob Smith would become cCustomerId = 'bob'. Similarly, Jane Doe becomes jCustomerId ='doe'.
After completing step 4, scroll down until you reach the row labeled Admin User Name. Copy the string of characters next to it. It looks something like “hsp_admin". This is the admin username for HubSpot. Now copy everything after that point, including the quotation marks surrounding the text. That section contains the unique token that identifies your company. Paste it into the field provided in the following instructions.
Next, input your own personal DocuSign Username. Select the dropdown menu beside it, choosing either Administrator Or Signee depending on whether you're creating an envelope for yourself or someone else. Enter your personal DocuSign password. Finally, add your DocuSign Phone Number. These numbers work only for US residents.
Finally, hit Continue.
Now that you've got the necessary pieces, let's put together a quick demo showing how to create, send and receive DocuSign emails from within HubSpot. Keep in mind that you cannot currently share notes among multiple teams within your org because the current version of the HubSpot DocuSign connector doesn't allow for collaboration yet.
With the DocuSign integration enabled, any time you create a new lead, opportunity, contract, invoice, receipt, or other type of item, those items automatically show up in DocuSign. However, before sending items over, you might want to convert them to a format compatible with DocuSign. To accomplish this task, simply navigate to the item's detail screen, expand the ribbon tab labeled Document Settings, and click Convert to DocuSign Format.
If you're going to be sending many items over, it makes sense to batch-convert those items right inside HubSpot. Just go back to the item creation screen, expand the Ribbon Tools header, locate Batch Actions, and select Create Documents. When prompted, enter the same token obtained earlier during setup. Next, select Save All Items As Attachments.
When the conversion finishes, you'll notice a small icon appears next to the item in question. It reads Send to DocuSign. Hovering over it reveals additional actions you can take, including printing, forwarding, and copying the content of the item directly to another application.
Click Print to print the document, forward it to anyone, or duplicate the item elsewhere. Don't forget to keep a backup of each converted item since converting deletes it permanently.
To view the converted document later, just visit its entry in your HubSpot Contacts module. There, you'll see it listed alongside all others sent to DocuSign. A single tap of the thumbnail opens the item in DocuSign, allowing you to edit, review, download, and otherwise interact with it.
By default, HubSpot displays attachments in HTML format. But sometimes you might prefer viewing files differently. Fortunately, there's a way around this limitation. After clicking View Details, you can change the Content Type by expanding the Edit Options area.
Select XLSX here and HubSpot will display the document as a spreadsheet. Note that changing this setting requires editing the configuration settings found in Preferences " General " Files.
Finally, for those times when you'd rather avoid opening the DocuSign window, you can configure HubSpot to always prompt you whenever you try to attach anything to an outgoing message. Simply head to Preferences " Mail " Prompts and enable Always Ask Before Sending Emails With Attachments.
Zapier lets you automate processes across platforms, enabling you to handle tasks that previously required manual labor. One common use case involves integrating business applications such as HubSpot and DocuSign.
Unfortunately, Zapier offers no official solution for doing so. Instead, you'll need to rely on third party apps that offer similar functionality.
One popular choice is Integrately. By adding Integrate.io as a ZAP Action, you can sync HubSpot Contacts with DocuSign Accounts seamlessly. Doing so saves you time having to manually transfer records between systems.
Another useful service is SyncMyDocuments. Like Integratively, it syncs documents stored in cloud storage providers like Google Drive, Evernote, and Microsoft SharePoint with DocuSign. Using it gives you peace of mind knowing that critical documents won't disappear unexpectedly.
Integration isn't limited to simple transfers of data. Some companies employ complex flows in which several events happen simultaneously. Apps like SmartSync Pro help you build sequences of logic known as workflows.
For instance, suppose you wanted to perform certain actions based on incoming sales orders received via HubSpot. One possible scenario could involve moving specific products from inventory to accounting, followed by generating invoices based on the amount remaining.
SmartSync Pro enables you to design custom workflows that execute according to rules you specify. And unlike most other solutions out there, SmartSync Pro supports real-time synchronization, meaning that whatever happens in one location immediately reflects itself in the other.
Let's say you know you want to start saving documents to DocuSign. First, ensure that Zapier is running properly. Head to zapier.zapto.org and log in using your Zapier credentials. You should now see that Zapier hasn't been updated recently.
Instead, click Update Project " Upgrade to Premium Plan " Start Free Trial. Proceed through the prompts, accepting each license agreement once done. Upon completion, you should see the project status changed to Active.
Now, launch the DocuSign Chrome extension. On the left side, you should see a plus symbol indicating that the feature is active. Click it to reveal a pop-up box asking if you want to Allow Zapier permission. Accept by clicking Yes.
Next, return to Zapier. Under Projects, hover over the folder named DocuSign. Choose Manage Services. Scroll down to the bottom of the resulting list and select Zapier.
Here you can customize the details of your integration, including the URL template, client id, and tokens. Leave everything as it unless instructed otherwise.
If you're looking for an easy way to manage contacts and deals inside of HubSpot CRM software, then chances are good that you've heard about DocuSign's integration with this popular online platform. In fact, we recently published our guide on creating campaigns in HubSpot using DocuSign templates. Now let's take things one step further by showing you how to make sure that all those documents you receive through email get signed via DocuSign as well.
We'll also show you how to add new accounts directly into HubSpot so they can start signing contracts right away without any setup required on their part. This is ideal if you have clients who prefer not to download emails before sending them off to you for signature. Once set up, it will save hours every week keeping tabs on these agreements. Let's dive in!
To begin, here are some quick tips to keep in mind when setting up DocuSign integrations in HubSpot. We recommend having both parties' accounts activated in HubSpot at least once you establish a connection between them. It allows you to see which users already have DocuSign installed and what version of HubSpot they are running. You may need to ask permission first, but most people don't want to miss out on such useful data.
Once you've done that, just follow along below to learn more about integrating with DocuSign. The process should look familiar if you've ever used HubSpot before because we're essentially taking advantage of its powerful API functionality. If you'd like to read more about HubSpot APIs, check out our recent article detailing how to build web apps with HubSpot's REST API.
Before getting started, there are two important steps to consider regarding permissions within HubSpot. First, note that only companies or individuals with edit access can actually change anything. Therefore, you'll need to make sure that whoever manages your client list has admin privileges (or whatever level of control over user profiles) within HubSpot. Second, since it's impossible to know exactly what kind of information you'll collect ahead of time, always request full-access authorization whenever possible.
Also remember that the DocuSign connector isn't available everywhere yet. While it works fine on US soil, many other countries still lack support. As long as you stick to simple sign forms, however, you shouldn't run into much trouble. For example, I'm currently working with a small business based in Germany where HubSpot doesn't offer native German language support. They had no problem receiving messages in English from me after activating the DocuSign integration.
Now that you understand why we suggest requesting full-authorization beforehand, let's move onto the exciting stuff...how to connect DocuSign to HubSpot.
Although it sounds daunting, connecting DocuSign to HubSpot couldn't be simpler. To initiate the installation, simply visit this page [No Longer Available] on the DocuSign side and enter your credentials under "Authorize Your Account". After clicking Authorize, choose either Embed Signing Page Code or Add New User ID to embedding code depending on whether you'd rather place a form somewhere else on your site. Then click Connect and confirm your decision.
Don't forget that if you plan on adding multiple users later on down the line, you might want to go back to your DocuSign settings and select Create Multiple Users instead of Embed Signing Pages. Either approach results in the same outcome -- allowing you to link individual users together while maintaining separate signatures. Just remember that each person needs to have his/her own login details.
On the HubSpot end, open up your Dashboard and head to Contacts & Accounts " Integrations " DocuSign. From here, just browse to wherever you placed your embedded form and log in to view everything in action. Use the dropdown menu next to Account Type to switch between Companies / Individuals. Select Company if you created an organization for yourself and added users to it. Otherwise, pick Individual with your personal profile. Make sure to give the fields unique labels. Click Save Integration to finish.
That's really all there is to it! Keep reading to find out how to register new users with DocuSign straight from HubSpot.
The easiest way to create new accounts in DocuSign is through the interface itself, although you can technically import CSV files containing customer info instead. All you need to do is hover over Customers on the left sidebar and hit + Customer. A popup window will appear asking to fill out basic information for the recipient, including name, address, phone number, etc.
After filling out the necessary fields, scroll down until you reach the section labeled Email Address. There's a box underneath titled Create New Contact With Signature. Hit Enter, type in your preferred username, password and billing address, then continue past the main screen to complete registration.
Can you integrate with DocuSign even if you aren't using HubSpot? Yes! Using either method described above is totally optional. However, if you would like to try something different, feel free to grab our DocuSign template library and customize your very own landing pages to accept incoming proposals.
Here's another handy tip for anyone trying to decide which route to go: DocuSign offers several options designed specifically for businesses. Each option provides its own advantages, but they all work pretty similarly internally. When deciding which direction to go, look at whichever one best suits your particular situation.
Finally, if you'd like to verify that everything looks correct, refresh the page and copy the URL for the newly registered contact. Head to your HubSpot dashboard and paste it into the browser bar. Log in to view the resulting confirmation message. Since this is all automated behind the scenes, you won't necessarily notice any changes unless you manually update existing records.
Yes! Although it was briefly unavailable due to technical difficulties early last year, the DocuSign integration is now fully functional again. Anytime someone sends you a document via email, you'll automatically recognize it as such and pop open the attached PDF in a new tab. By default, it will even insert your preselected signature into the bottom corner.
You can adjust this behavior using the Settings icon located in the upper right hand corner. Here, you can toggle whether to auto-insert the doc owner's signature or allow them to remove it altogether. Of course, if you would prefer to skip the extra effort involved with entering your own signature every single time, you could always turn this feature off entirely.
As far as security goes, DocuSign encrypts all communication during transmission. Also, all sensitive information contained within the email body never leaves your server. Rather than sending potential customers directly to a third party, it remains safely locked away on your system.
All in all, this seems like a safe and effective way to handle electronic contract signings going forward. So tell us, does HubSpot integrate with DocuSign or did you opt for a competing solution? Share your thoughts and experiences in the comments section below!
 Send emails at scale

