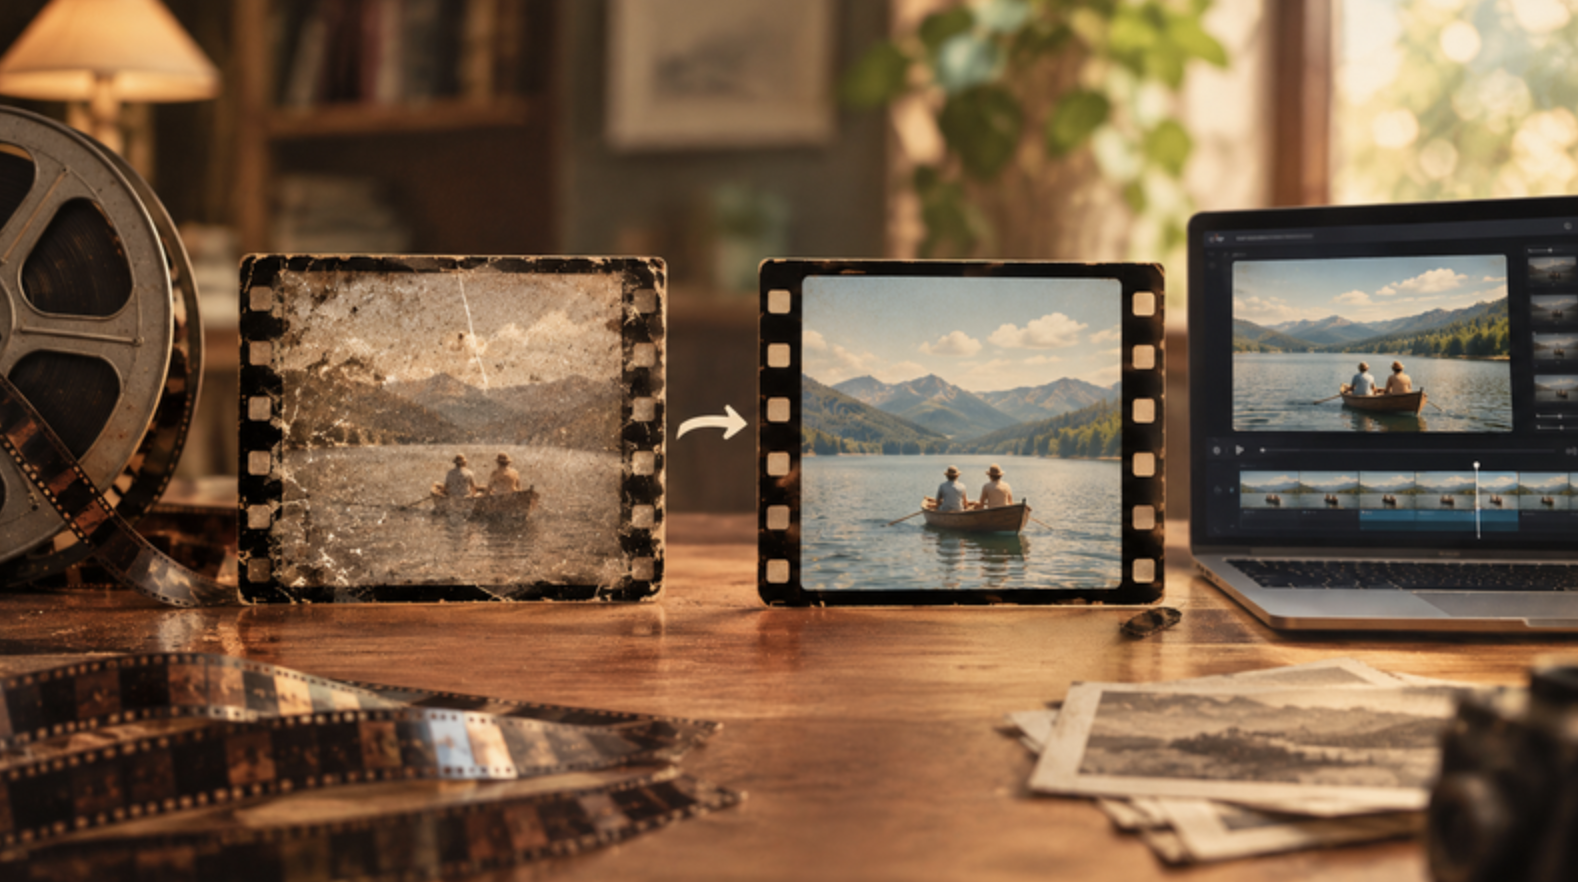
Old film and early digital transfers rarely fail for one reason alone. Soft focus, dye fade, dust hits, compression from a rushed DVD rip, and a frame size that looked fine on CRT all stack together. Restoring an old film video is less about a magic button and more about picking the right method—or sequence of methods—for the damage you actually have. Below is a clear map of approaches people use today, what each one is for, and how an online tool like VideoUpscaler fits when the goal is clearer, larger, publishable footage without a full lab pipeline.
In casual speech, restore can mean anything from “make it watchable on a phone” to “reconstruct a theatrical master.” Most creators and families need the middle path: stabilize the story, improve clarity, and export a file that holds up on modern screens. Professional archival work still belongs in specialized labs when the source is unique nitrate, complex damage, or a rights-critical master. For transferred files you already have as MP4, MOV, or similar, software and AI video enhancement cover a large share of day-to-day needs.
If the “film” still lives on reels, VHS, Hi8, or a disc, restoration starts with capture. Telecine or a careful tape deck transfer into a clean digital file beats enhancing a multi-generation rip. Poor digitization bakes in softness and noise that no later AI pass fully removes. When a better transfer is possible, do that first; enhancement tools then work on a healthier master.
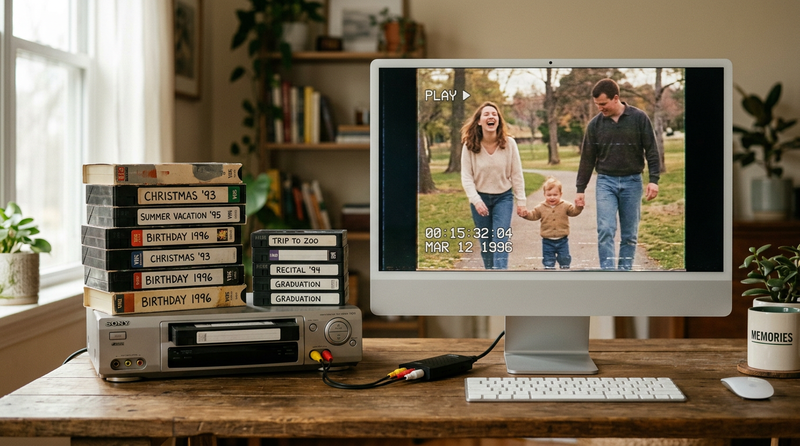
Non-linear editors handle color correction, exposure, mild denoise, stabilization, and reframing. Editors remove dust with clone-style fixes on short spans, balance faded color, and crop gate hair. This method offers precise control and no surprise AI texture, but it is slow on long reels and weak at inventing missing resolution. It is ideal for selective shots and color storytelling once the file is already sharp enough.
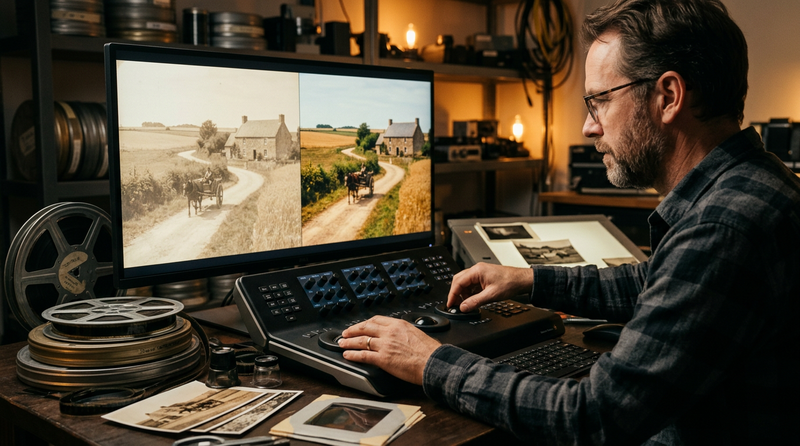
Specialized plugins and desktop suites target flicker, dirt, scratches, and grain management. Some workflows chain stabilize → deflicker → denoise → sharpen. These stacks remain common in broadcast and serious archival shops. They reward training and machine power; for a ten-second family teaser, they can be heavier than the job.
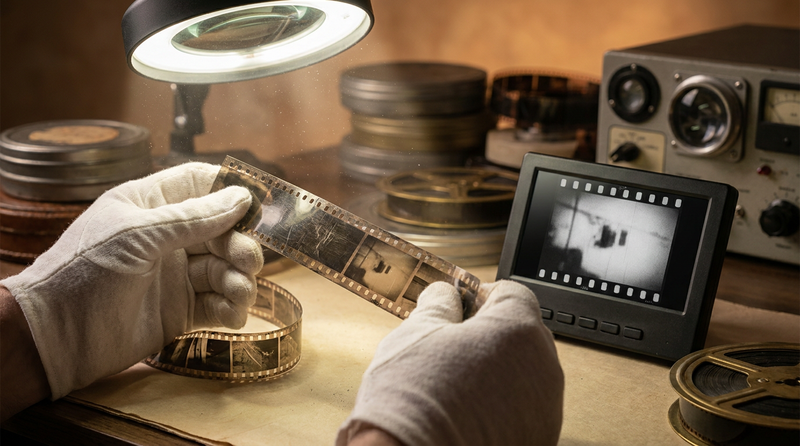
AI models improve apparent detail, reduce some compression mush, and enlarge frame size (commonly 2x or 4x within tool limits). Strengths: speed on short clips, accessible browser or app UIs, and useful gains on soft but structurally intact footage. Limits: heavy blur and missing focus do not come back as true optical detail; temporal artifacts can appear if you push too far. This is the category where VideoUpscaler sits for online, trim-first passes.
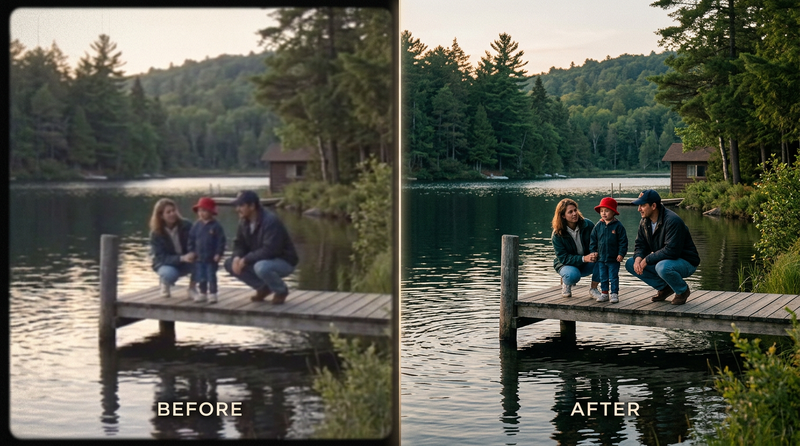
Labs combine advanced scanning, human inspection, and controlled optical or AI workflows. Choose this when the element is irreplaceable or release quality must meet archival standards. Cost and turnaround exceed consumer tools when the asset justifies it.
Common sequence: best transfer → manual color/stabilize on key sections → AI enhance the publishable range → final grade for the destination.


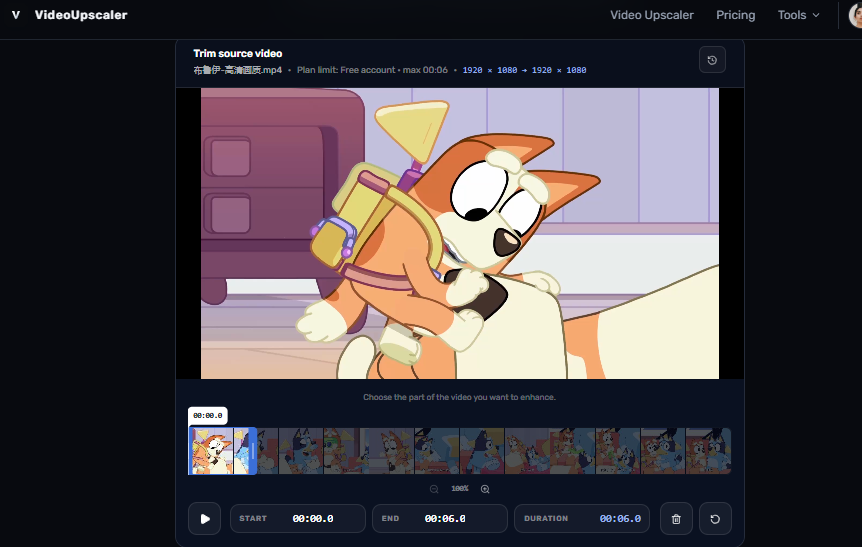
VideoUpscaler is a browser-based AI video upscaler and enhancer for improving existing footage at its current size (1x) or enlarging it by 2x or 4x, then downloading a separate MP4 from cloud processing. You trim the span that matters, check output dimensions and credit estimate, and keep your original file unchanged. It is built for clearer playback and modern layouts—not for claiming Ultra HD from every Super 8 transfer. 4x multiplies source dimensions subject to Full HD-class workspace limits; always trust the sizes shown under each scale. Results still depend on the source: crushed tape noise and severe blur can remain visible after enhancement.
- 1x enhancement without requesting a larger frame
- 2x / 4x enlargement with on-screen dimension previews
- Timeline trim so only the selected range is processed
- Credit estimate before you commit
- Cloud processing with MP4 download; source left intact
- Common inputs such as MP4, MOV, WebM, and MKV when the browser can decode them
Use this when you already have a digital file and need a clearer or larger excerpt for sharing, a documentary insert, or a memorial cut.
Open VideoUpscaler and select or drop the file. Wait for preview. If the browser cannot decode an old container, re-wrap or re-encode to a standard H.264 MP4, then upload again.
Old home movies are often long and uneven. Set in and out points around the moments you will actually show—birthday candles, a street scene, a speaker’s answer. Check the duration limit beside the controls; longer files may start with only a short range selected.
Pick 1x when the player size is already right and you want a cleaner look. Pick 2x or 4x when you need room to crop or to sit beside modern 1080p B-roll. Read the projected pixels and credit estimate. Do not assume 4x means 4K.
Start enhancement, keep the page open through preparation and upload, then play the result against the source—faces, text on signs, and motion. Download the MP4 promptly while cloud results remain available. Drop that derivative into your editor for final color, titles, and audio; leave the pre-AI master archived.
A relative digitized reels years ago at modest resolution. Trim dances and speeches, run 2x if dimensions allow, and judge skin and fabric texture in motion. Use manual color in the NLE afterward if dye fade still feels wrong—AI clarity first, taste second.
The oral-history file is soft on a modern documentary timeline. Trim usable answers, try 1x or 2x, and keep expectations modest on crushed backgrounds. Pair with light denoise in the editor if tape hiss in the picture remains distracting.
A 1990s promo lives as a DVD rip. For a fifteen-second social homage, trim the hero shot, enhance online, then letterbox or crop to today’s canvas. Full-title restoration can stay on the manual or lab track; the anniversary hook does not need the entire reel remastered overnight.
Phones and 1080p players expose softness that CRT and small LCDs forgave. A careful restore keeps elders’ faces and street detail readable without forcing viewers to squint or abandon the clip.
Documentary, education, marketing, and family films all reuse history. Restored excerpts slot beside modern footage instead of looking like a broken insert that pulls attention for the wrong reason.
Home movies and community recordings carry voice, clothing, and place. Better watchability keeps those records circulating among people who never saw the original screening.
You do not always need a lab quote for a memorial or classroom clip. A decent transfer, selective manual work, and a focused online enhancer like VideoUpscaler often yield a publishable MP4 matched to the minutes you will show.
A new enhanced file preserves the pre-restore digital master. If AI misreads a face or sign, you can revise the range without destroying the only copy.
Pros: Fast on short trims; no desktop suite install; visible size and credit cues; easy MP4 handoff into everyday editors.
Cons: Cannot recover optics that never existed; long reels should be broken into selects; output ceilings apply; one job at a time means planning batches.
Treat AI upscaling as one chapter in the restore stack—powerful for clarity and scale, incomplete as a sole substitute for transfer quality and human taste.
Restoring an old film video usually blends better capture when possible, manual correction for color and selective cleanup, optional specialized filters, and AI enhancement for soft but intact digital transfers. Map the damage first, then pick methods in order. For a browser-based clarity and enlargement pass on the seconds you will publish, VideoUpscaler offers a trim → scale → enhance → download path that respects modern limits and leaves your source untouched. Use labs when the master is irreplaceable; use a focused online workflow when the goal is a watchable, shareable story on screens people use now.
 AI tools to find & convert leads.
 Send emails at scale